There are several settings that can be used with cameras. These features can help take great pictures, but they can also make it difficult to choose the right settings. This article explains the basics of camera settings. We'll also address auto whiteballed, shutter speed, aperture. We'll then discuss how to make use of these options to create stunning photographs.
Basic camera settings
It is crucial to choose the right settings for your camera in order to take great photos. The camera's basics settings control exposure and noise levels. These settings need to be adjusted in order to achieve the desired results. You can learn to use these settings to create more artistic images. You don't need to spend a lot of time learning basic camera settings.
Photographs should be taken with the object in focus. The background is often out of focus. An aperture that is large will let more light in, which creates a shallow depth field. Most photographers recommend f4 and/or f5.6 to keep the subject in focus. It is possible to shoot at higher f values, but be mindful of the dangers.
Auto white balance
Cameras have different preset white balance settings, including Auto white balance (AWB). Let's see how these options affect color reproduction. A cat under a cloudy sky seems more natural in Adobe Photoshop AWB. A similar cat in daylight looks yellower.
A neutral white balance is acceptable in most shooting scenarios, but it might not give you the best images. A carnival, for example, is likely to have several different light sources. Therefore, a neutral-white balance photo will not convey the carnival atmosphere.
Shutter speed
Your camera's shutter speed controls the amount and duration of light that hits your sensor during exposure. It also controls how much motion is captured in the frame. For example, if the subject is moving during the time the shutter is open, the photo will be blurry. You can use a tripod to help control the shutter speed for best results.
It is best to use a slower shutter speed when photographing a waterfall. This will allow you to capture the water ripples without blurring the image. But, to capture the water's movement you must use a shutter speed that is at least 1/5 seconds. A faster shutter speed will blur water detail so it is important to use post-processing.
Aperture
Aperture is an important camera setting because it affects how much light is allowed to enter the sensor. The fstop can be adjusted to increase the brightness of the photo or decrease the light level. Another setting relates to how sensitive the camera is to light, ISO (International Organization for Standardization). ISO (International Organization of Standardization) used to regulate the speed of film in the past. However, it is used today to control the camera’s sensitivity to light.
Because it determines how light enters the camera sensor, the aperture setting is crucial. To get vivid images, aim for a F-number of f/1.4 - f/2.8. A larger aperture will place your subjects in the foreground while a smaller number will blurr them.
ISO
ISO refers to the degree of light sensitivities of your camera's sensor. ISO is a measure of how sensitive your camera sensor to light. The higher it is, the more light your camera can capture. Your camera can only capture a small amount of light if you set the ISO to low. Your images will appear richer and more detailed if you increase the ISO. It's also important to note that higher ISOs also allow you to shoot at faster shutter speeds.
How to change your camera's ISO setting can control the brightness of your images. This is an essential concept in photography. Knowing how to use ISO correctly will give you the best results. After learning how to modify ISO, you can choose the shutter speed you want and the aperture you prefer.
Focus
One of the most important parts of a photograph is the focus settings. These settings are responsible for determining the sharpness of the image. This allows the subject to be isolated and draws the viewers' attention to the focal point. Depth of field is another important aspect of focus. This is the area of an image where the subject is located.
The focal distance of the background and foreground is determined by the aperture, which is a key setting on the camera. This setting can cause blurred images. It can also affect the background of the subject.
Exposure compensation
Exposure compensation, a feature that allows you adjust the exposure of your camera's image, is important. Modern cameras have the ability to measure images accurately and make adjustments when necessary. The majority of cameras allow exposure compensation to be adjusted by at least 1/3 stop. Although it is not something you should rely upon, exposure compensation can be very useful when your camera makes poor decisions.
Exposure compensation allows you to adjust the camera's meter settings so that the final image is as dark or as light as you would like. It works in increments so you can quickly make adjustments and still keep the balance of all your settings. Exposure compensation can also be used for artistic and practical purposes.
FAQ
Which Lenses Should I Use?
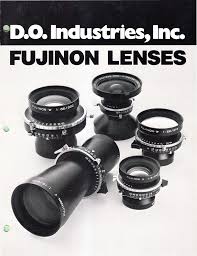
Most beginners will ask this question: "Which lens should I buy?" Because there are so many options, it can be difficult to choose.
You don't have to buy a brand new lens each time you purchase a new camera. Instead, you can add lenses later on.
These are just three options for lenses that you might consider.
-
Wide Angle Lens (14mm to 24mm): These lenses allow you to see more of your subject from a wider angle. You can zoom in to improve image quality.
-
Standard/Normal Zoom Lens (28mm – 70mm): These lenses allow for you to adjust focal lengths and maintain image quality.
-
Telephoto Zoom Lens (70mm, 200mm): These lenses work well for distant subjects. These lenses allow you stay focused on your subject even when they appear small.
Combining lenses can create different effects. Combining lenses can create different effects. For example, a normal lens could be used to capture small details while a telephoto lens is used to capture faraway objects.
How do you get started in digital photography
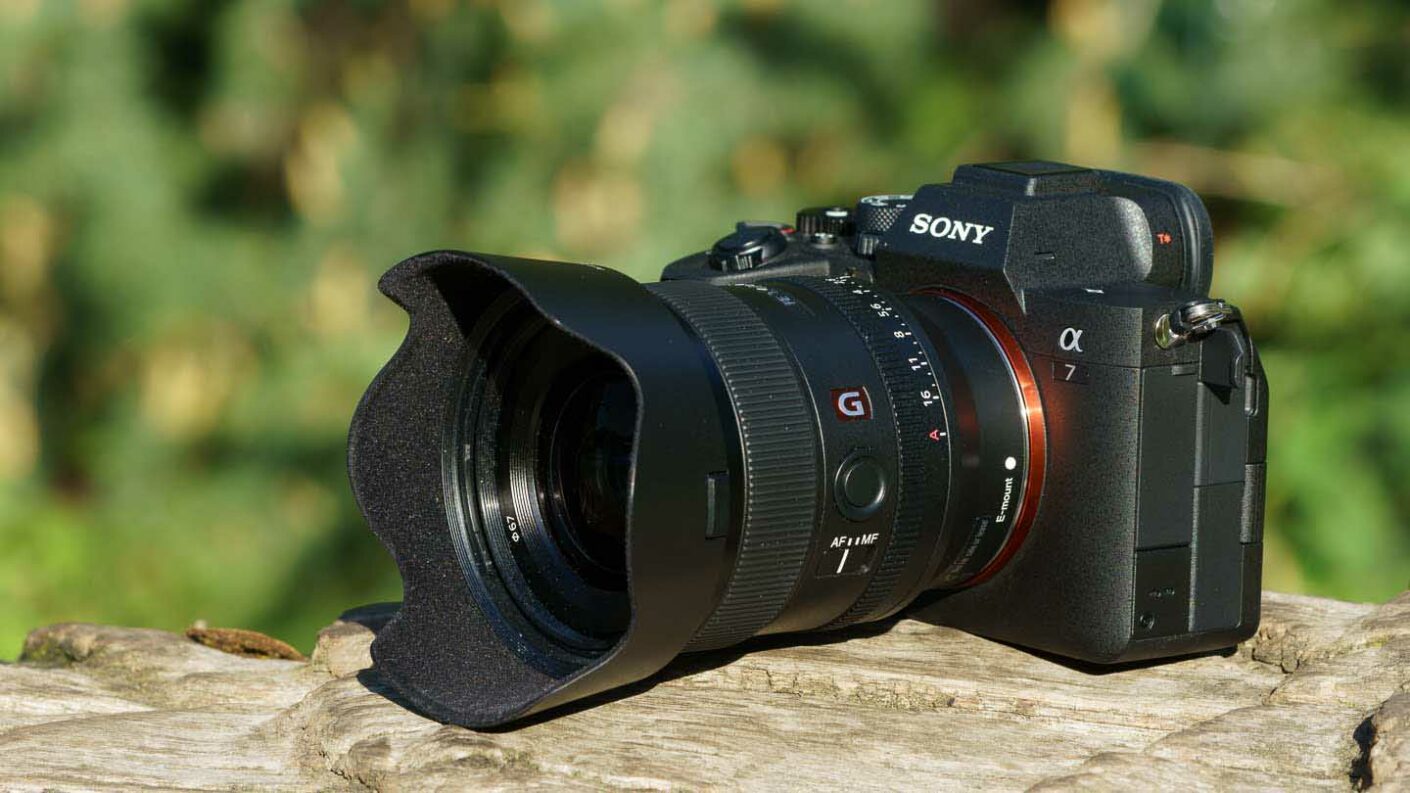
When you start out in digital photography, the first thing to consider is which type of camera you will use. You have several options, including DSLRs (digital single lens reflex cameras), point-and-shoot compact cameras, camcorders, and smartphones. Each model has its own unique features and advantages. DSLR cameras can produce high-quality images, but they are usually heavier and more bulky than other types. Point-and-shoot cameras tend to be smaller and lighter, and may have automatic settings for specific situations. Camcorders can record excellent video and have some still photography modes. Smartphones are light and portable and can be carried around easily.
After you have decided which type of camera you want to purchase, you need to decide if you prefer to buy a new or used model. Even if the cameras were bought in the last few decades, they can still be purchased at reasonable prices. Because of the large amount of money that manufacturers spend on new technology, older models are more expensive.
Next, you need to purchase lenses. Your photographs' quality will depend on the lenses you choose. They allow you to control the lens's focal length, allowing you to zoom into the scene without losing focus. Some lenses have built-in flash units, while others require external flash units. There are many brands offering a variety of lenses. Each brand has their own distinctive characteristics.
Finally, you need to purchase memory cards. Memory cards can store pictures that were taken with your digital camera. It can hold hundreds to thousands of photos, depending on how big your card is. Multiple memory cards are required if you intend to take many pictures.
What is the rule to thirds in photography
The rule of thirds can be used to create beautiful compositions, without having to use complicated camera settings. It divides the image horizontally or vertically into nine equal pieces. It creates three main areas, where your subject should appear. These are the top (3rd from the left), middle (3rd from center) and bottom (3rd from lower right). You can use these areas as guides for positioning your subject within your frame.
You can avoid placing important elements too close together, or too far apart, by using the rule of thirds. You might not have enough space between them for a strong visual impact if you put them close together. If you put them too far apart, they might lose focus because there isn't much room around them.
Which Camera Should I Buy?
It all depends upon what kind of photographer your goal is to become. A basic point and shoot camera is enough if you are just starting.
You'll probably want something more advanced once you've learned the basics. Personal preference is the only way to decide.
These are some things you should consider before buying a camera.
-
Features: What features do I need? Are you going to use autofocus, manual settings, or both? How many megapixels is your camera capable of? Is there a viewfinder?
-
Price: How much are you willing and able to spend on your camera? Do you plan to update your camera every other year?
-
Brand: What brand will you be satisfied with? You shouldn't settle for less.
-
Functionality: Can you use your camera in low light situations? Do you have the ability to take high-resolution pictures?
-
Image Quality: How clear are your images and how sharp are they?
-
Battery Life: How long does your camera last between charges.
-
Accessories: Are you able to attach additional lenses or flashes? ?
Why use Light Room to enhance your pictures?
To ensure that you get the best photos for your project, it is best to start early. It's better if you take as many shots possible before you decide on the ones that give the most value.
Lightroom makes this possible by showing you how different settings affect each photograph. These settings can be adjusted on the fly without having to go back into Photoshop. This allows you quick experimentation to see what looks best and what doesn’t.
Statistics
- In this case, 100% of readers who voted found the article helpful, earning it our reader-approved status. (wikihow.com)
- That's the easiest way to get blurry photos 100% of the time. (photographylife.com)
- There are people out there who will pick at flaws they can only see in 100% crops of your photos. (wikihow.com)
- The second easiest way to get blurry photos 100% of the time is to use a cheap filter on the front of your lens. (photographylife.com)
External Links
How To
How to photograph in low light conditions
Low-light photography means taking photos in dimly lit areas. It requires special equipment. The main challenges include controlling exposure, white balance, and sharpness. There are two types low-light photography: ambient and flash. Flash photography works well when there is sufficient light around you. However, if there's not enough natural light around you, you'll need to use flash. Without a flash, it is possible to get a poor picture if the subject is indoors and not outdoors. If you don't want to use a flash, try shooting at night during the moonlit hours. This will give you some beautiful shadows and colors. Another option to consider is shooting during twilight. Twilight is when the sun sets but there's still daylight.
You might also be interested in long exposures. Long exposures allow you to record images after the shutter has been open for several minutes. The camera records only light falling on the sensor if it is kept closed. During a long exposure, this light continues to fall onto the photo sensor. However, because the shutter remained shut, no new light enters the lens. Therefore, there is very little movement. Turn off autofocus and autoexposure to ensure you get clear images. Also, make sure that you adjust the ISO setting before you start shooting. An ISO setting 200 gives you more control over how bright or dim your image appears. Once you are ready to click the shutter button, make sure it is fast. This will cause the shutter to close completely. Then, you should hold the shutter button until the last possible second. The shutter button should be held down to prevent more light from entering the camera. Wait a few seconds after you have taken the photo before you release the shutter button. This allows the camera's to process the image. You can view your photos while you wait on the camera. Save them once you are satisfied with them.